Quick Start
Connect to the Camera
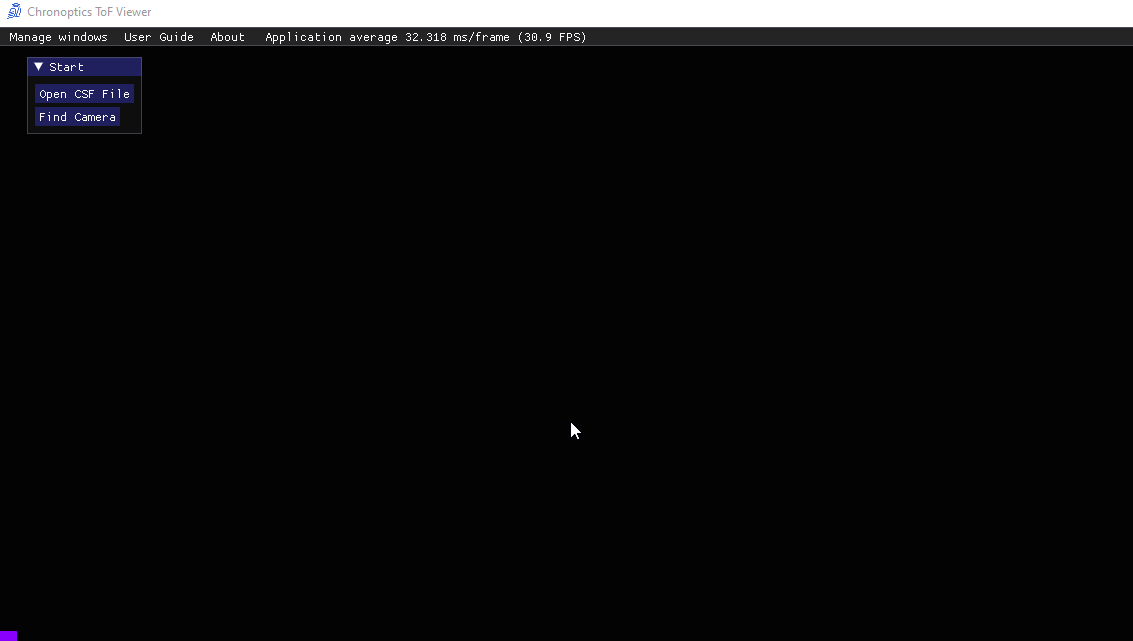
The “Start” window is shown by default when opening the ToF Viewer.
To connect to a camera, select the “Find Camera” button in the “Start” window to detect cameras connected to the computer, via Ethernet or USB.
The detected cameras are listed, displaying their serial number and the camera’s IP address.
If no cameras are detected no items are listed and the popup is blank.
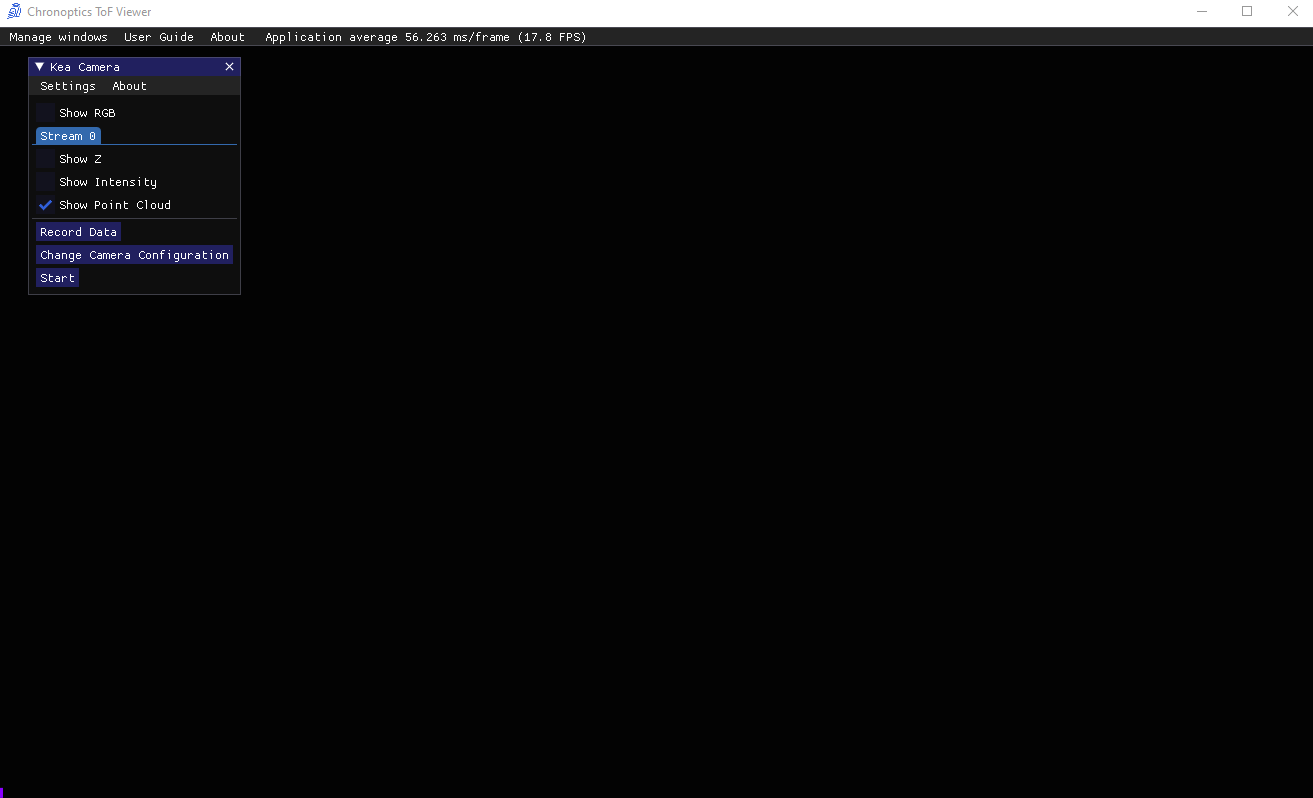
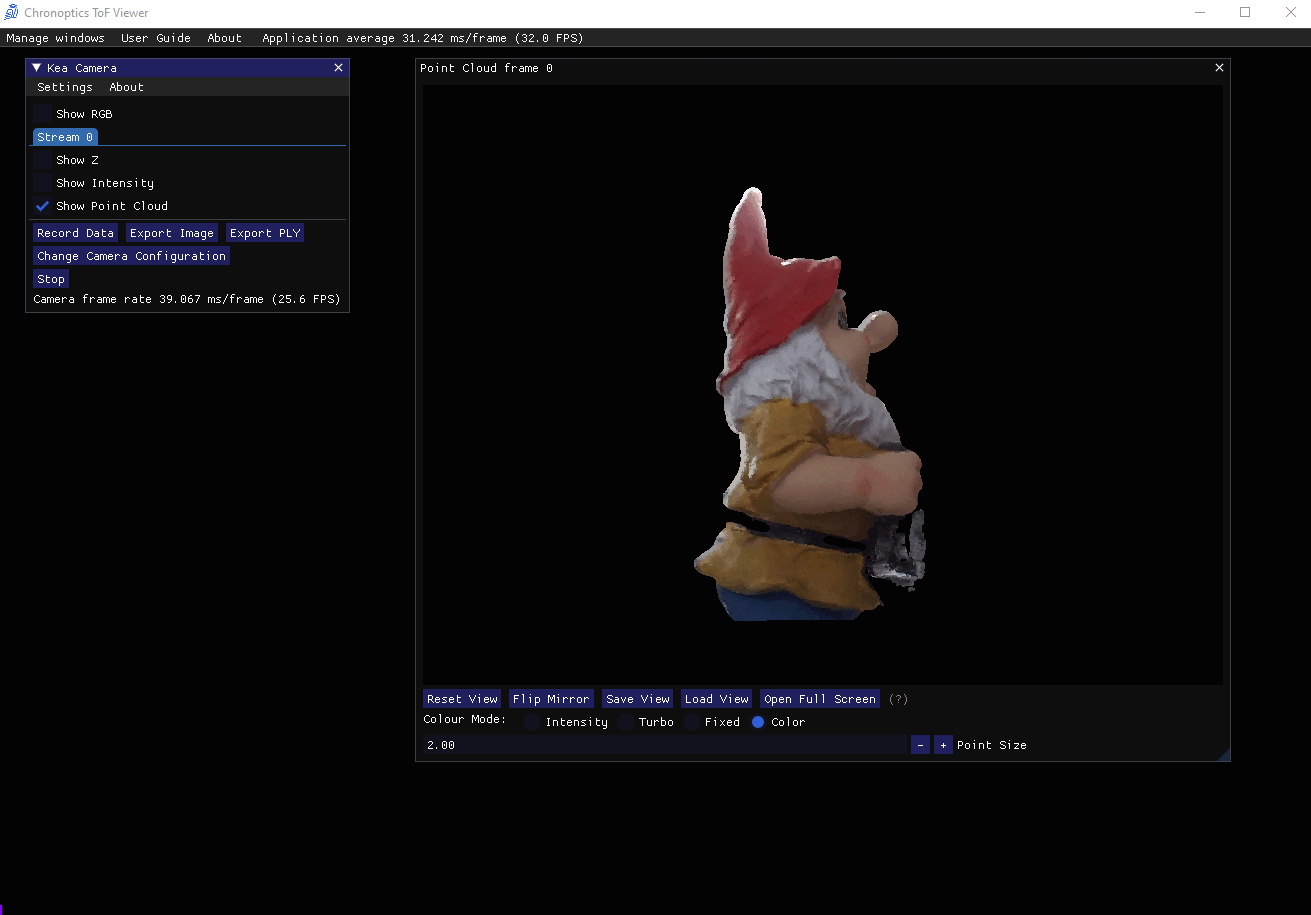
Start the Camera Stream
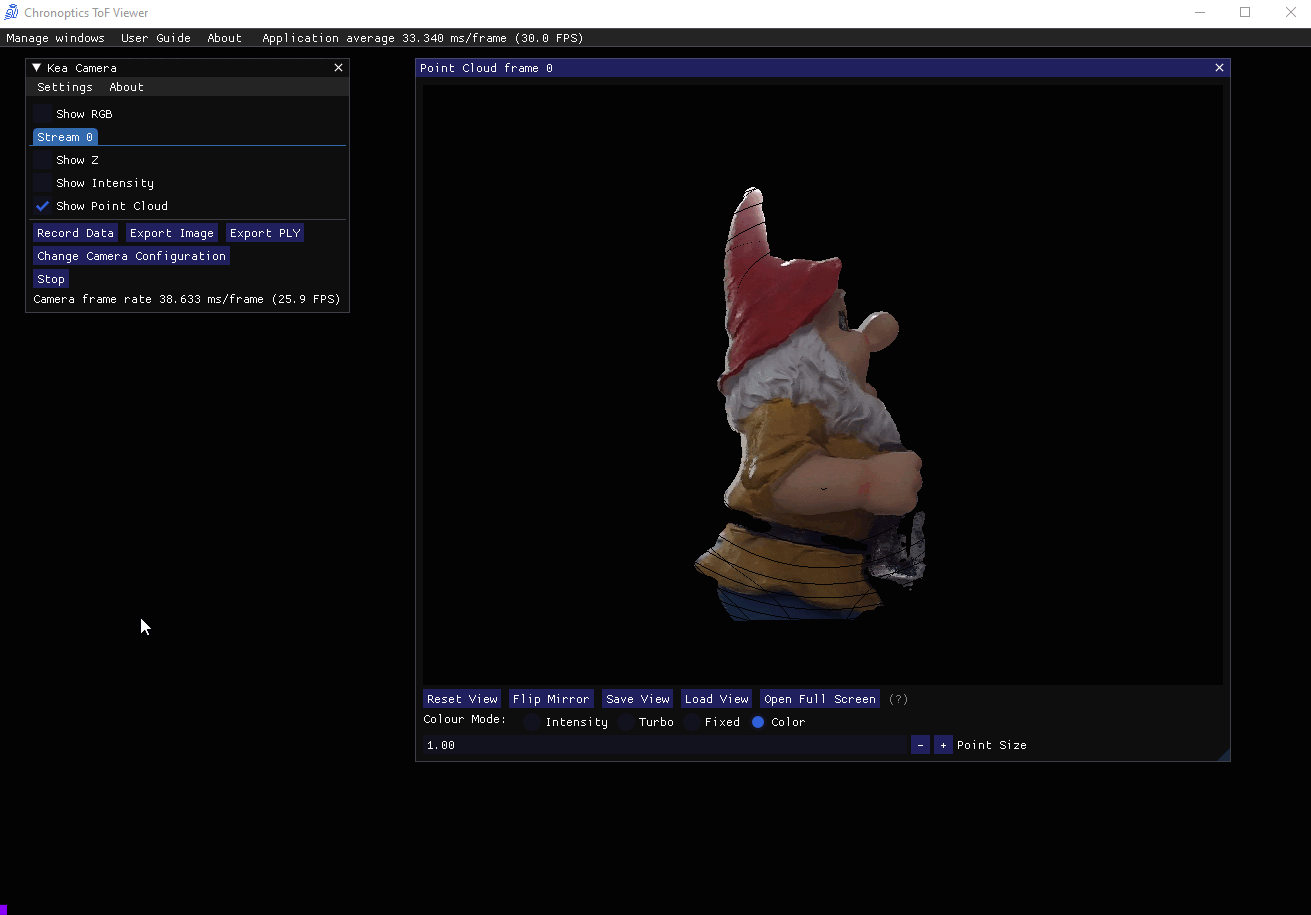
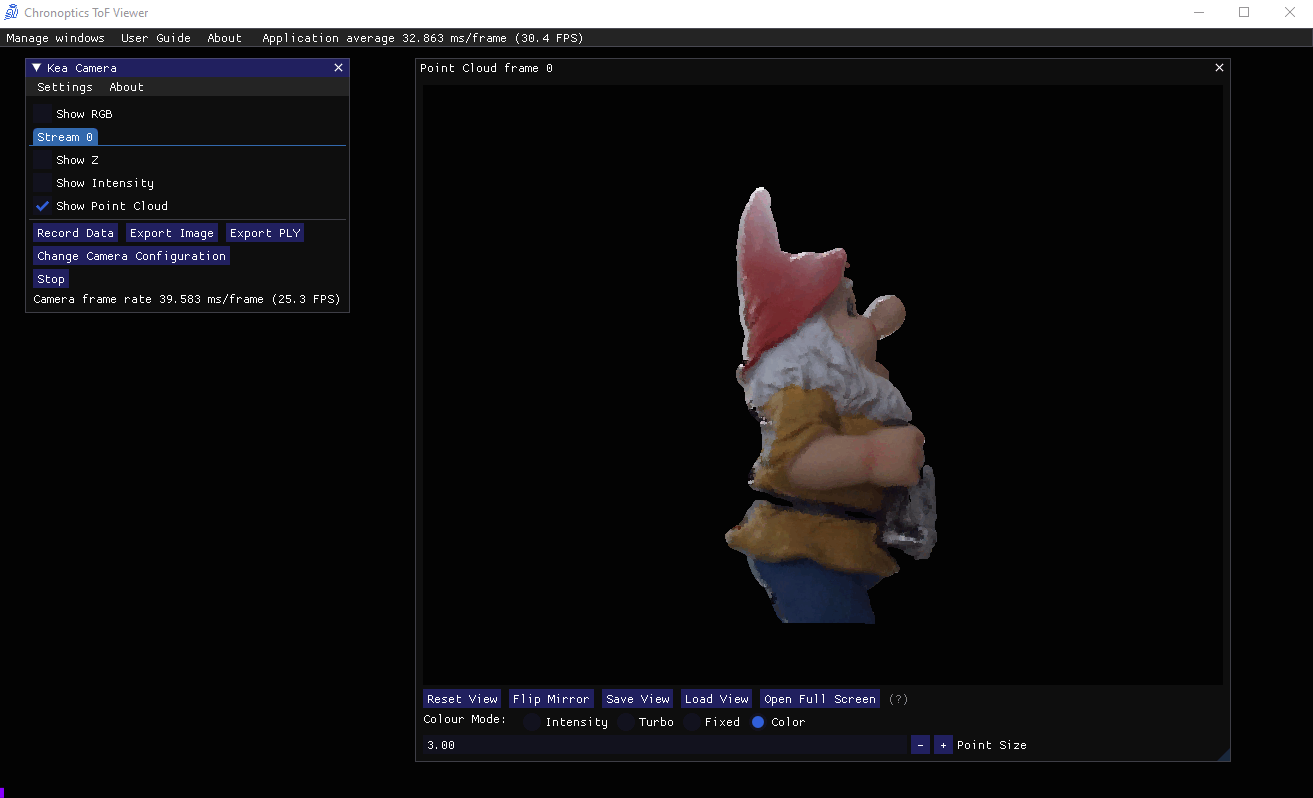
Once the camera is connected, you can start streaming by selecting the “Start” button. The stream will start and the point cloud window will be displayed showing the point cloud streaming from the camera. The view point of the point cloud can be changed by clicking and dragging with the mouse: use right click to pan, left click to rotate, and scroll the mouse wheel to zoom.
The point cloud will be coloured with the RGB stream if the camera has an RGB camera, if not, then the point cloud will be coloured with the Turbo colour scale to represent the Z distance from the camera.
The Colour Mode can be changed to show intensity, or Fixed colour using the radio buttons located below the point cloud in the Point Cloud window.
Change the Camera Configuration
To Change the camera settings, click the “Change Camera Configuration” button.
Change the camera configuration by inputting various scene parameters using the “Configuration Builder” to generate a camera config, or use the “Advanced Settings” to directly control the camera parameters such as integration time and modulation frequency.
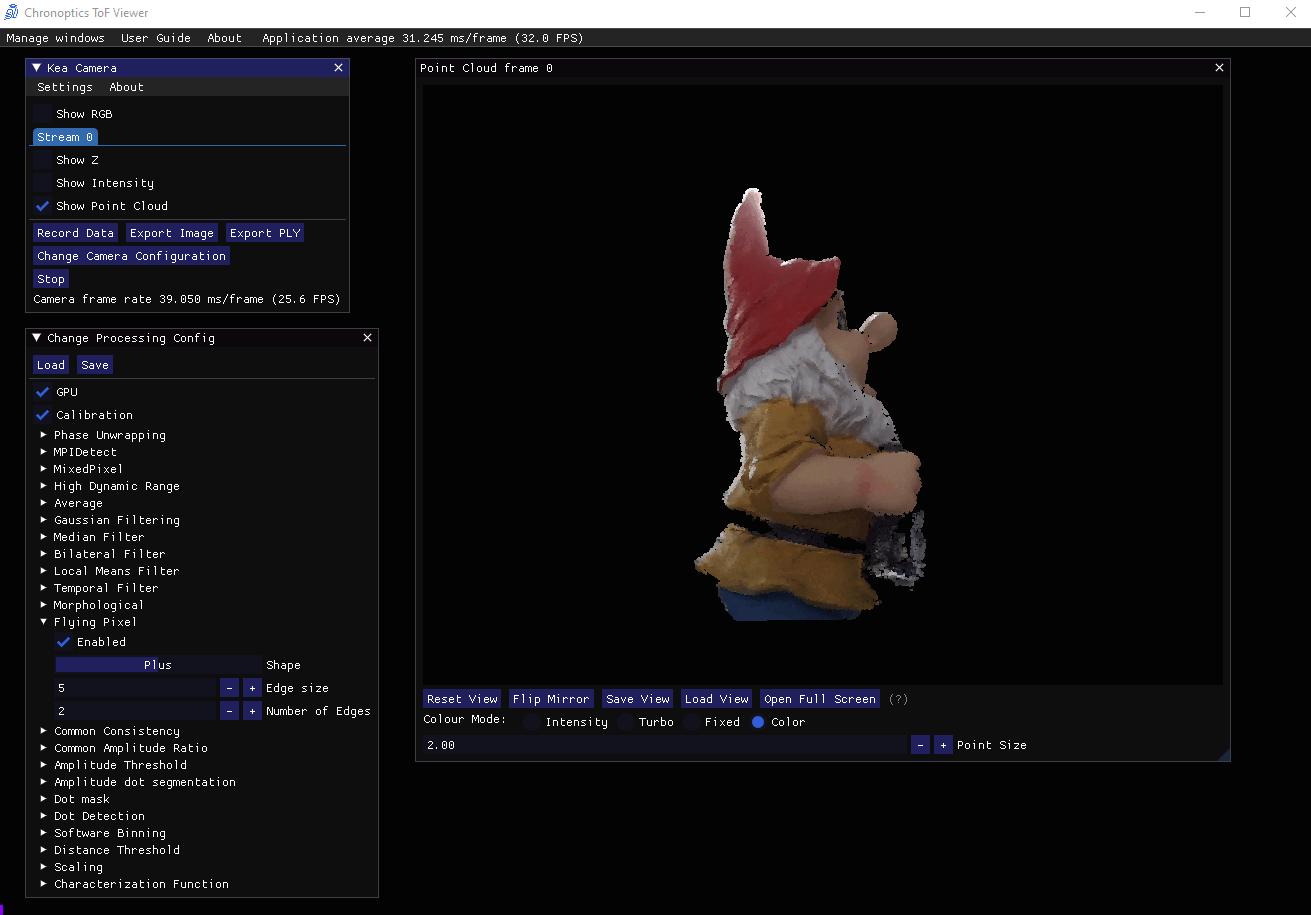
Change the Processing Configuration
Click manage windows and select “Change Processing Config”.
The “Change Processing Config” window will appear.
In this window you can change the view and change processing pipeline options.
When you have changed the options, you must click the “Apply” button to set the changes.
Capture
To capture data from the ToF camera, select the “Record Data” button. A file browser window will appear so you can choose the save location for the CSF file. In the “Configure Capture” window you can select the type of file to save the data as and other capture parameters. Press the “Start” button to begin the capture. If you selected a limited capture duration a progress bar will appear to show when the capture has finished, other wise you can manually end the capture by pressing the “Stop Recording” button.
Load a CSF File
To load a CSF file (Chronoptics Streaming Format), disconnect from the camera, or open a new ToF Viewer window.
Select the “Open CSF” button and a file browser window will appear.
Choose the CSF file.
Press the “Play Button” to preview the captured CSF file.
The processing config options can be used if the CSF file was saved as RAW data, but not as Radial and Intensity.
To save data as RAW, you must disable “On Camera Processing” before recording the data.